Click above to see full lesson plan
Big Idea: Functionality
Rationale for Lesson Plan:
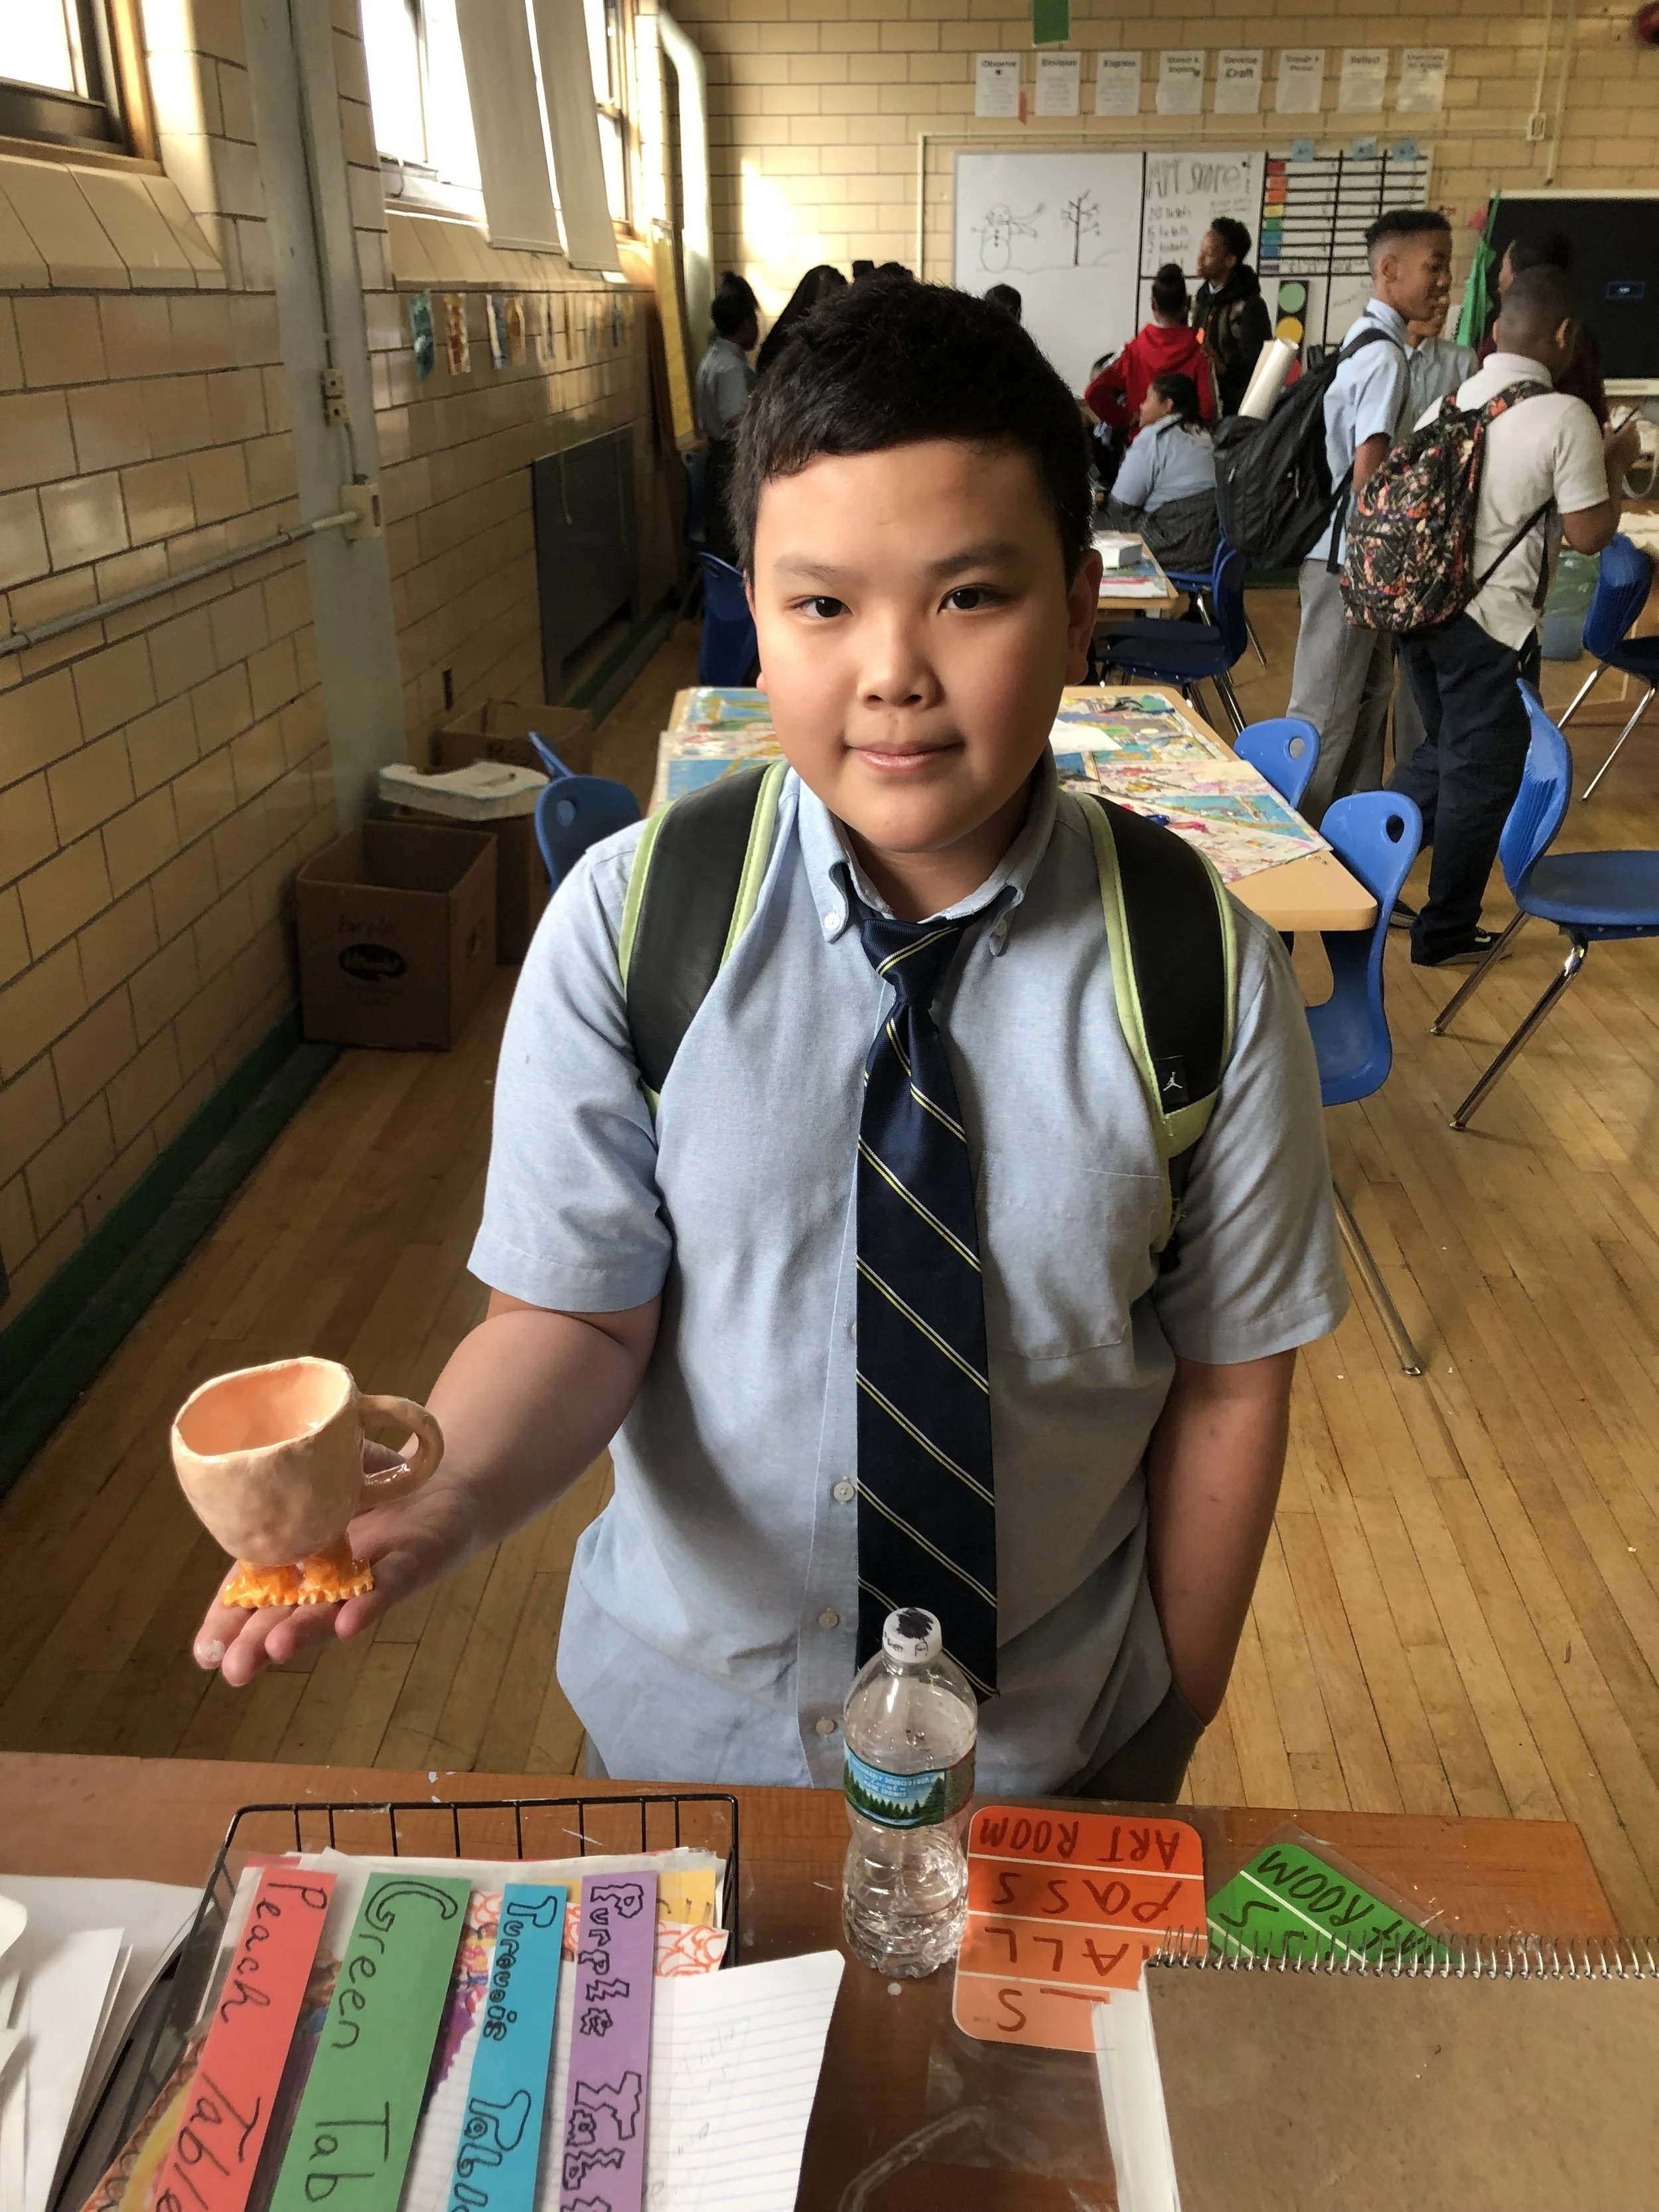
This lesson plan is meant for 6th graders to develop the idea that artwork can extend beyond the classroom. The goal is for the students to understand that design and functionality go hand in hand with one another, and by making, they can shape the work to their personal needs.
Design of Doors: https://www.youtube.com/watch?v=yY96hTb8WgI
“Breakfast”: https://www.theclaystudio.org/exhibitions/breakfast
The next step of the process will be to sgraffito the clay, which means to scratch into the clay after putting a layer of underglaze on. This will create contrast, and make it appealing for those who like to draw. The students will have the option to either make a pattern or draw a design. The pattern or design MUST somehow allude to the function of the piece. I.e. if an ice cream bowl is made the student can draw sprinkles, or ice cream on it.
Logistics:
Full Supply List
Underglaze
Clay
Basic ceramic tools
Prep
Water on tables
Make sure there is canvas on tables
Supply kit for all tables
Introduction:
https://docs.google.com/presentation/d/13XIZaMLFwt-xJeZvbUpPsF_x520EwxP1ZixmpPzlGSw/edit?usp=sharing
Give everyone a bit of clay and at the end of the presentation ask them what has changed with it. Talk about dryness level and differing qualities of it. The slides should be around 20 minutes, including time to settle the kids down. Next will be the demonstration, which should take another 5-10 minutes.
http://larkcrafts.com/craft-your-life/sophisticated-pinch-pottery/
Print some of these out for instruction.
Day Schedule:
Day 1: Intro/ Demo of pinch pots/ Students making pinch pots
Day 2: Sgraffito examples/ Sgraffito Demo/Have students make a rough draft of pattern or sketch
Day 3: Students do sgraffito once draft is approved
*GIVE AT LEAST 3 DAYS FOR ALL OF THE PIECES TO DRY OUT COMPLETELY BEFORE BISQUE FIRING*
Day 4: Glaze ppt/ Glaze Demo/ students glaze with clear
Clean Up:
This will always occur 15 minutes before class ends. The time will be dedicated to students putting all of the tool back in its place, wrapping up pieces (when needed) and wiping down table tops.
First, everyone will wrap their objects up and bring them to the back of the room (for storage). They will be called by table. In the meantime every table will have a person that wipes down the table with a sponge. All materials will go into the bucket in the middle, and another student will be responsible for bringing the bucket to the back of the room.
Essential Question: How can the function affect the design of a ceramic bowl? How will the surface design lend a hand in its design?
Objective:
SWBAT create a pinch pot along with a foot based on their own design.
SWBAT recognize simple ceramic terminology and utilize them in the classroom.
SWBAT place their own narrative onto the ceramic bowl they are creating.
Adaptations:
For students in the MDS (Multiple Disabilities Support Classroom) a slab will be made for them. Then they will “paint” on a layer of underglaze and sgraffito a design in. A lot of students in this class love drawing and painting, so this will be a great project for them.
https://www.angrypixie.co/single-post/2015/12/02/ceramic-cheese-boards-
Extension:
If a large group of people finish early, then they will have a sharing time of what they have made.
Assessment:
The students will be graded based on 5 elements.
Design
Surface treatment
Creativity
Craft
Effort
